Phase 3: First AI Agent
Goal
The goal of this phase is to import an AI Agent workflow, switch it to OpenAI, fix one expected compatibility issue, and test the result.
Step 1: Create a new workflow
From the n8n overview page, create another new workflow.
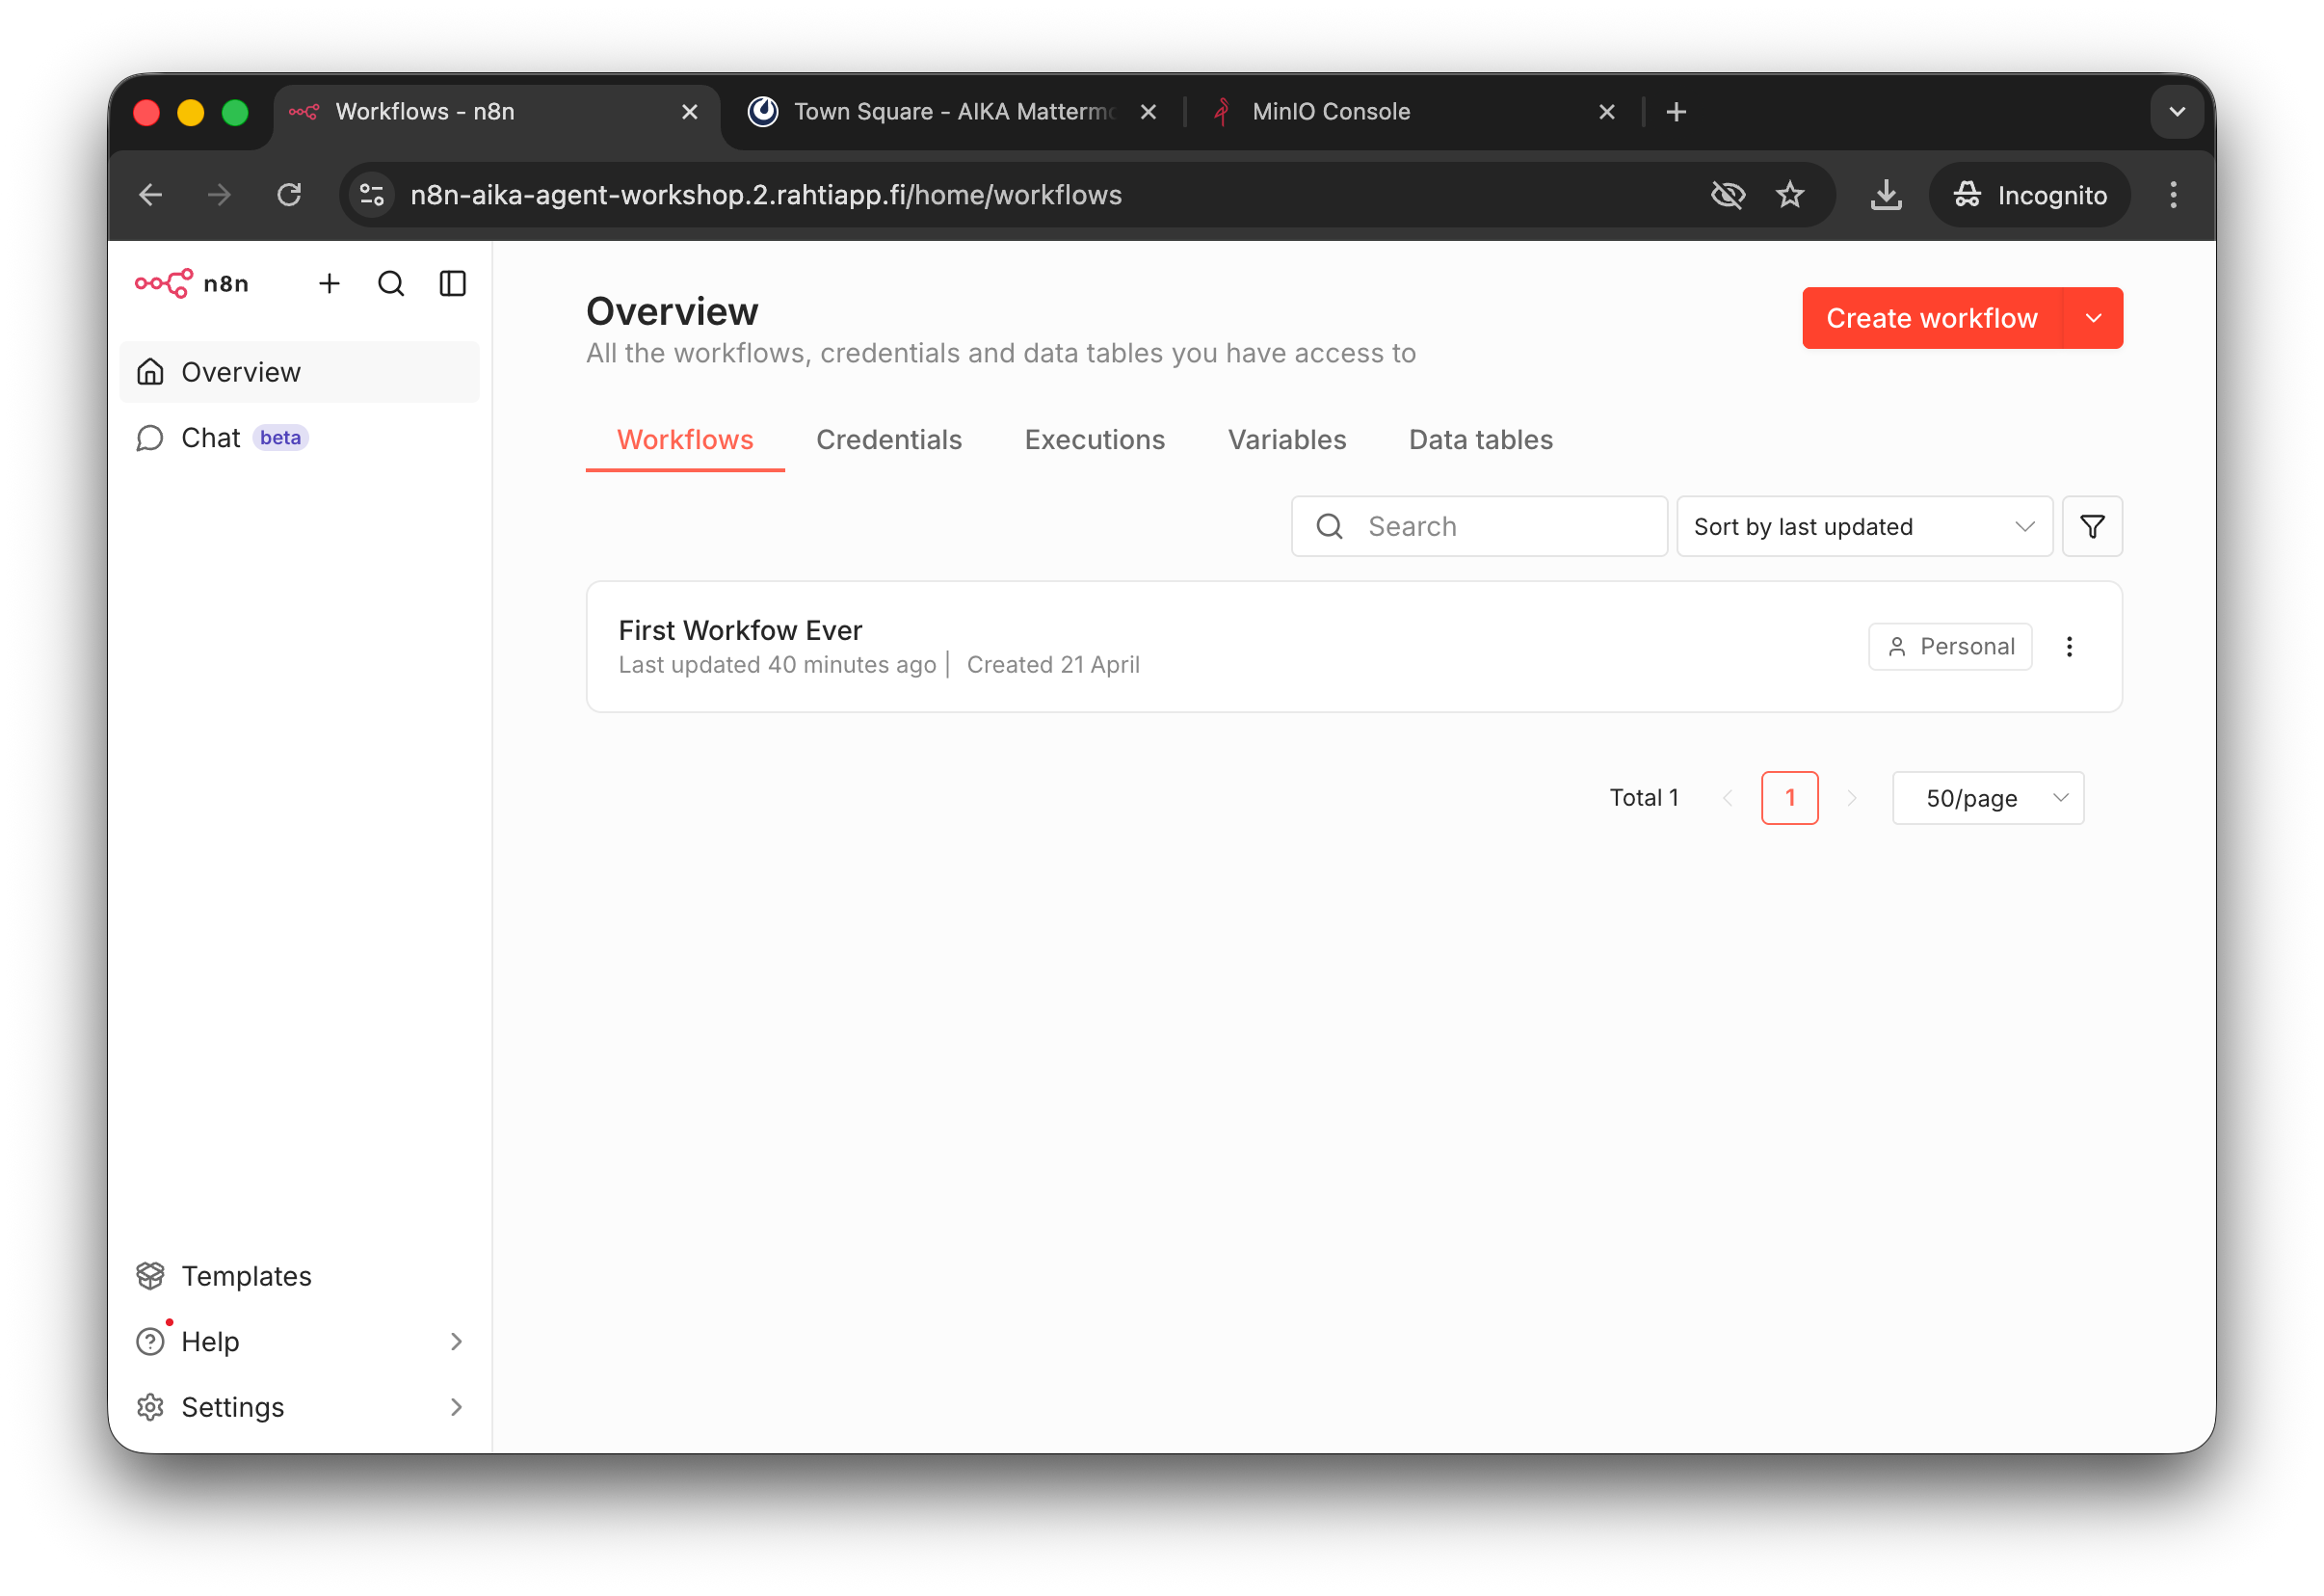
The overview page lists your workflows. Create a new one for this exercise.
Step 2: Get the template workflow
Open the n8n workflow gallery at n8n.io/workflows. Find the template named Build your first AI agent.
Use the site to copy the template JSON to your clipboard.
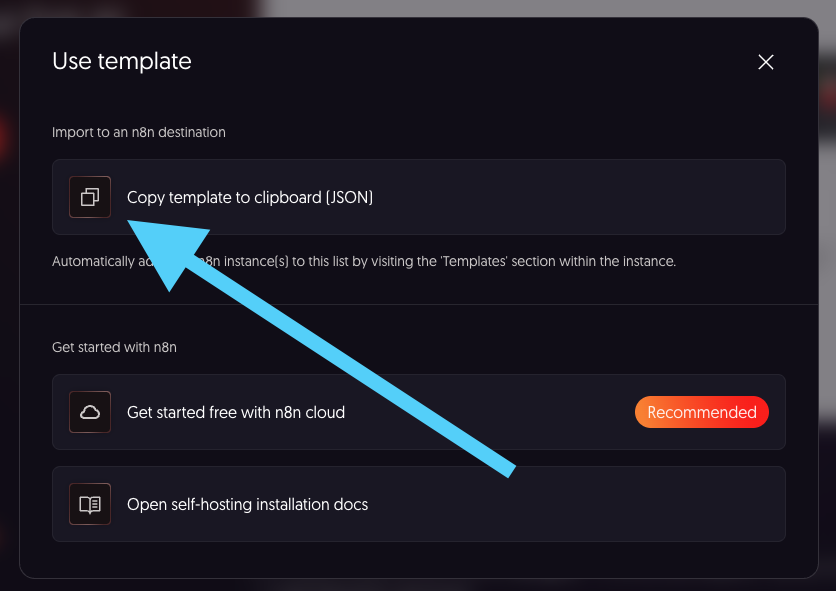
Use the template site's copy action to place the workflow JSON onto your clipboard.
Step 3: Paste the workflow into n8n
Go back to the empty workflow editor and paste the JSON. The editor should populate with the imported workflow.
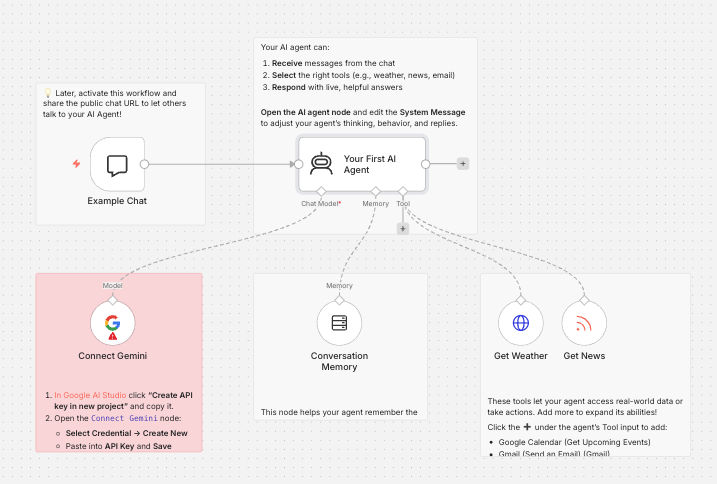
After pasting, you should see a complete workflow with chat, agent, memory, model, and tool nodes.
The sticky-note style helper nodes are optional. You can leave them there or delete them.
Step 4: Replace Gemini with OpenAI
The template uses Gemini by default. In this workshop, use OpenAI instead.
- Delete the Gemini model node.
- Add a new node after the AI Agent.
- Search for
OpenAI. - Select
OpenAI Chat Model.
Step 5: Create the credential
The workshop environment uses an internal proxy for OpenAI requests. That means the credential values are intentionally simple:
- API Key: any placeholder value, such as
foobar - Base URL:
http://openai-proxy/v1
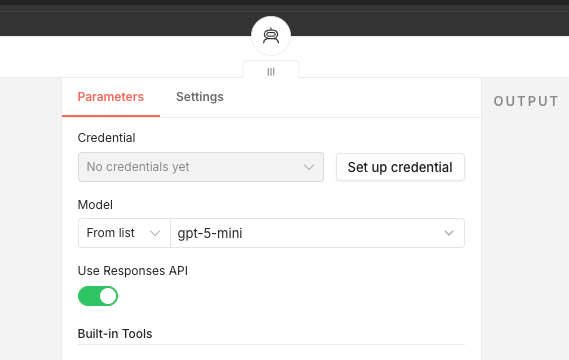
Create a new credential when the OpenAI node reports that no credential exists yet.
Save the credential after filling those two fields.
Step 6: Test the chat
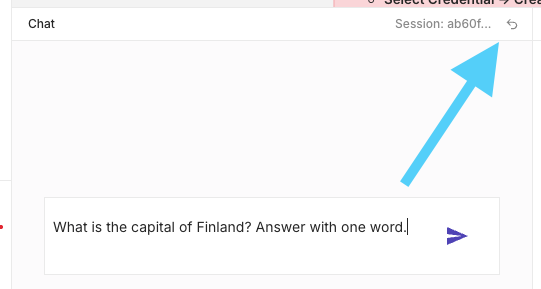
Open the chat and try a very small prompt, for example:
What is the capital of Finland? Answer with one word.
![]()
The chat interface is the easiest way to test the imported workflow.
Warning
An error is expected at this point. That is part of the exercise.
Step 7: Fix the expected error
The imported template is older than the current Agent node version, so n8n shows a compatibility error. Fix it like this:
- Open the
...menu on theYour First AI Agentnode. - Choose
Replace. - Search for
Agent. - Select the current
AI Agentnode.

Use the Replace action to swap the outdated Agent node for the current one.
When you do this, the original template's system message is lost. That is acceptable for this mini guide. If you want, you can add your own short system message afterwards, but it is not required to finish the exercise.
Step 8: Test again
Reset the chat session and retry the same prompt.
Resetting the chat keeps the next test clean and easy to inspect.
If the fix worked, the response should now come back without the earlier compatibility error.
Step 9: Inspect the workflow
Inspect which nodes ran and which did not.
The nodes that should run during a simple chat question are:
- Example Chat
- AI Agent
- OpenAI Chat Model
- Conversation Memory
The tools usually do not run unless your question requires them.
Try at least one tool-triggering question, such as:
What is the weather today in Helsinki? Answer with one sentence.
After that, inspect the weather tool node and its inputs.
You can also inspect the news tool later. It reads from predefined RSS feeds, so its usefulness depends on the feed list configured in the template.
Success check
You have completed this phase when:
- you imported the AI Agent template into n8n
- you replaced Gemini with OpenAI
- you created the proxy-based OpenAI credential
- you fixed the outdated Agent node by replacing it
- you got a successful chat response after the fix
At this point, you have completed the hands-on part of the mini workshop.